The Complete App Launch Checklist (Free Tools for Every Step)
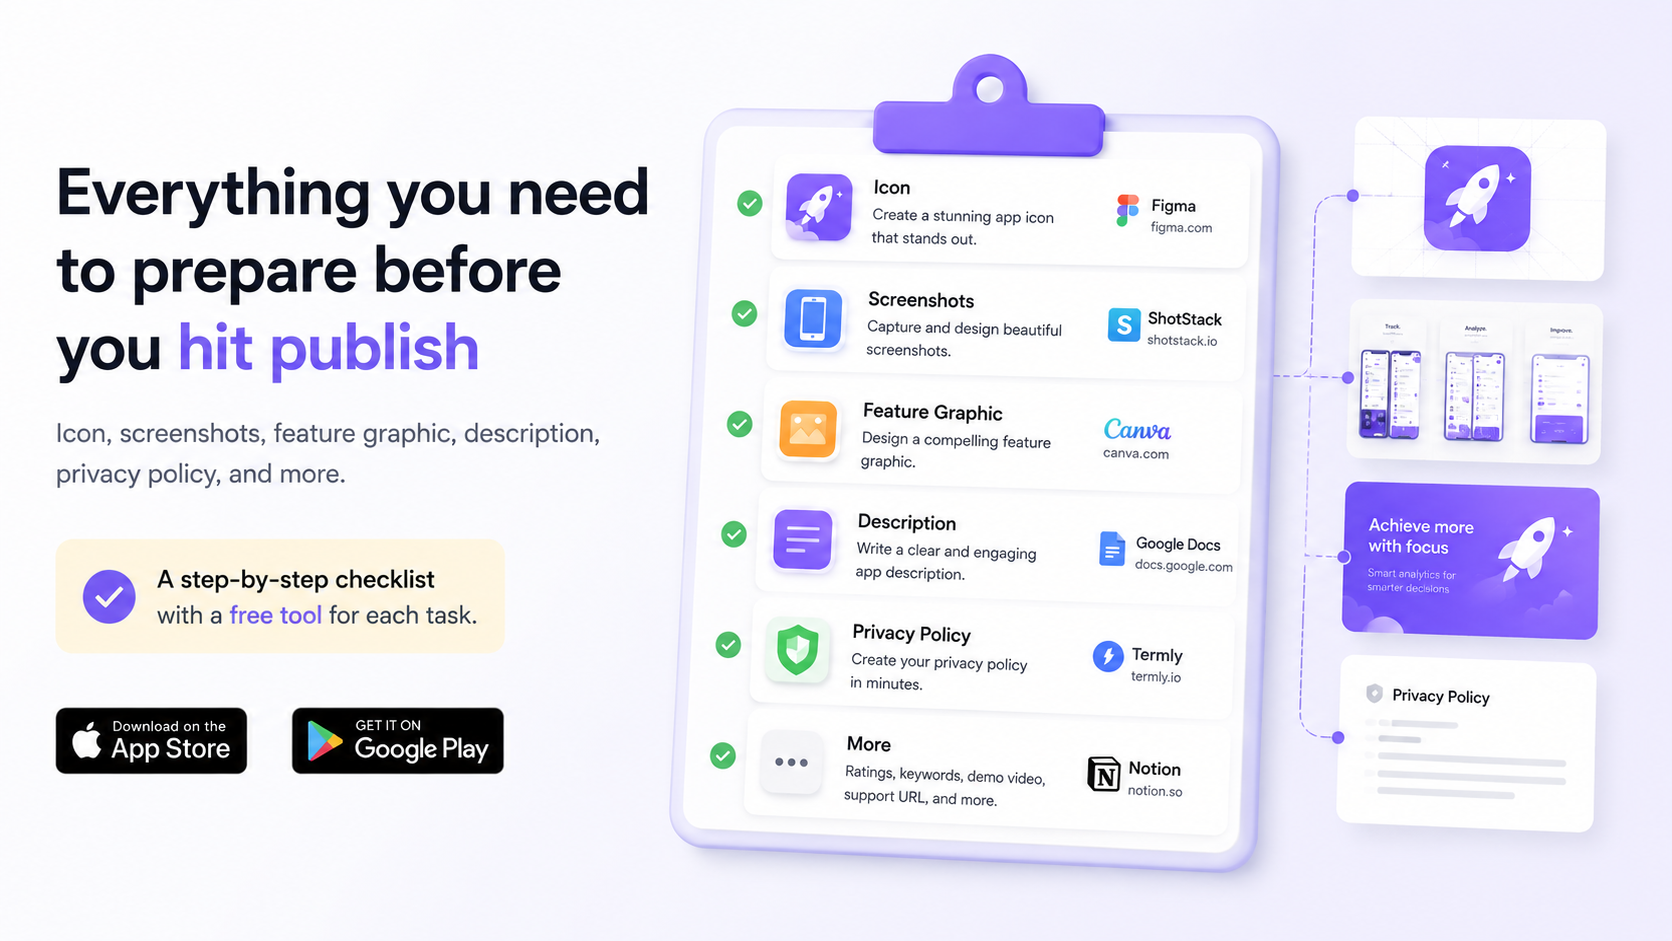
You've built the app. Now comes the part nobody warns you about: the store listing. Between screenshots, icons, descriptions, and policies, there's a surprising amount of "asset work" standing between you and the publish button. Here's a complete, no-fluff checklist to get it all done — with the free tools to knock out each step fast.
1. Nail your app icon
Your icon is the first thing anyone sees — in the store, on the home screen, in search results. Both stores need it in multiple sizes, and getting them all right by hand is tedious.
Start from a single high-res square (1024 × 1024 px) and generate every required size at once. The App Icon Generator does exactly that — drop in one image and export the full set for iOS and Android.
2. Capture clean source screenshots
Before you decorate anything, grab clean screenshots straight from a device or simulator. Use a consistent device, hide any personal data, and capture the screens that show off your core value — not your settings page. Aim for 4–6 strong screens.
3. Turn those screenshots into store-ready images
Raw screenshots convert poorly. The listings that win pair each screen with a short, benefit-driven caption, a clean background, and a consistent style. This is the single highest-leverage thing you can do for your conversion rate.
The LaunchShots editor handles this end to end: add captions, pick a background and device frame, and export at the exact size each store wants — iPhone, iPad, Android phone and tablet. If you're not sure which sizes you need, see our 2026 screenshot size guide.
4. Make a Google Play feature graphic
If you're shipping on Android, Google Play requires a feature graphic at 1024 × 500 px — the banner shown at the top of your listing. It's mandatory, and it's separate from your screenshots.
The Feature Graphic Maker builds one in the right size with your headline, colors, and an optional device mockup.
5. Write a description that fits
Each store has strict character limits — title, subtitle, keywords, and the full description all have caps, and going over means your text gets cut off. Good store copy is concise, benefit-led, and keyword-aware without being spammy.
The App Store Description Generator shows live character counts for every field so nothing gets truncated, and flags duplicate keywords.
6. Add a privacy policy
Both Apple and Google require a privacy policy URL before you can publish — even for a simple app. Skipping it is one of the most common reasons a submission gets rejected.
The Privacy Policy Generator creates one tailored to what your app actually collects, ready to host and link.
7. Fill in the store metadata
Round out the listing: category, age rating, support URL, contact email, and keywords. Double-check that your support and privacy URLs actually load — broken links are an easy rejection.
8. Localize if you can
If your app targets more than one country, localized screenshots and descriptions noticeably lift conversion in those regions. Even translating just your captions and title is worth it. You don't need to localize everything on day one — start with your biggest markets.
9. Final review before you hit submit
- Icon looks crisp at small sizes.
- First two screenshots show your strongest features.
- Captions are consistent in font, color, and position.
- Description fits within every character limit.
- Privacy policy and support URLs load correctly.
- Screenshots are the exact pixel sizes each store requires.
Ship it
That's the whole listing covered. Every step above has a free, no-signup tool on LaunchShots — no Photoshop, no subscriptions, all in your browser. Work through the list, and your store page will look like it came from a team ten times your size.
Got a step you think is missing? Tell me on the feedback board — I keep this checklist updated.
Related posts
Make your App Store screenshots free
LaunchShots is a free, in-browser screenshot maker. No signup, no watermark.
Open the app →
Comments (0)