How to Make App Store Screenshots Without Photoshop (Free)
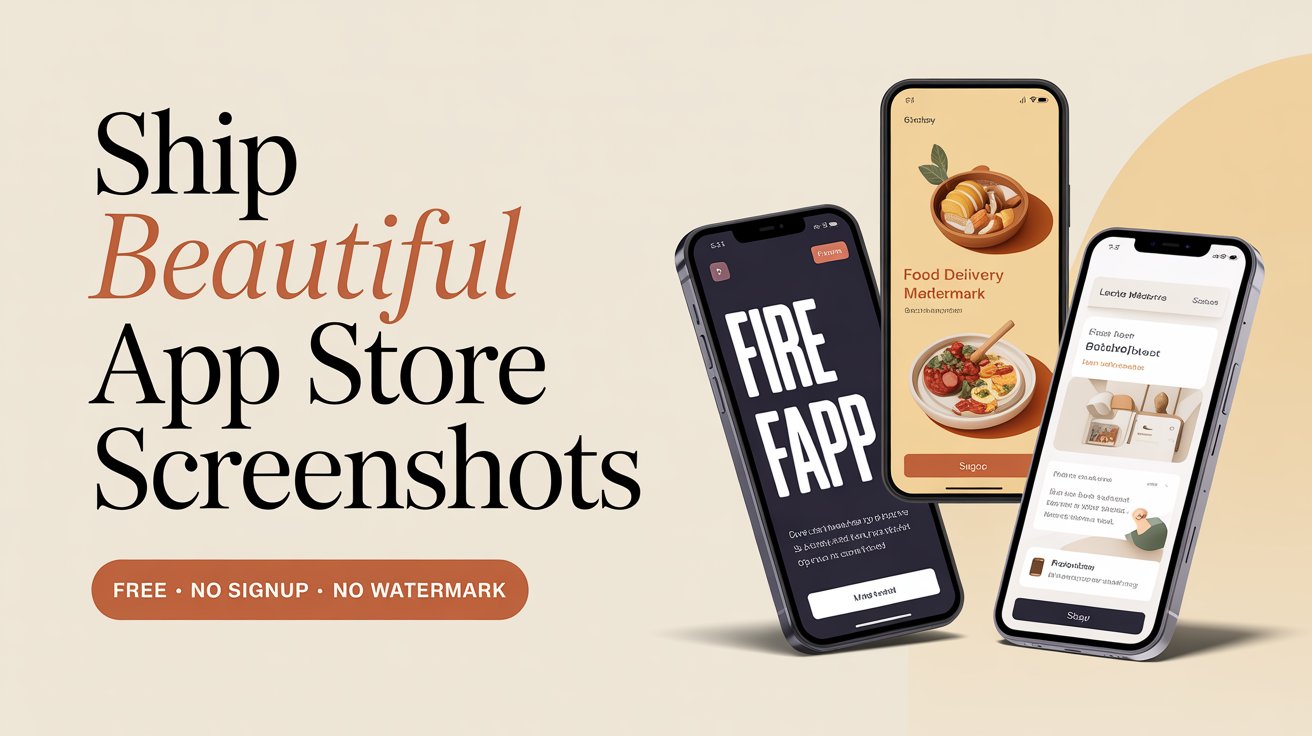
If you've just finished building an app, the screenshot step can feel like hitting a wall. The App Store and Google Play both want polished, captioned images — multiple sizes, ideally in every language you support. And most tools for the job either cost a monthly subscription or stamp a watermark across your work.
This guide walks through how to make clean, store-ready screenshots for free, in your browser, in about ten minutes — no design software, no account, no Photoshop.
What makes a good App Store screenshot
Before touching any tool, it helps to know what you're aiming for. The screenshots that convert browsers into downloaders usually share three things:
- A clear, benefit-driven caption. Don't just show the screen — tell people what they get. "Track every workout automatically" beats a raw screenshot with no context.
- Big, legible text. Your screenshots are shown small in search results. Thin fonts and tiny captions disappear. Use bold, large type.
- Visual consistency. The same device frame, the same caption position, the same color theme across all of them. Consistency signals polish.
The first two or three screenshots matter most — they're what people see before tapping into your listing. Lead with your strongest feature.
Step 1: Capture your screens
Grab the screens you want to feature straight from the simulator or a real device. On iOS, the Simulator can save a clean screenshot with one shortcut. On Android, the emulator's camera button does the same. Aim for your app's most visually interesting or most useful screens — the home view, a key feature, a moment of payoff.
Don't worry about the exact dimensions yet. A good tool will frame and resize them for you.
Step 2: Drop them into LaunchShots
Open the app and drag your screenshot in. It drops straight into a device frame that automatically matches your screenshot's proportions — no awkward white bars or hard crops. You can pick from a range of iPhone, Android, and tablet frames depending on which store you're targeting.
Everything happens in your browser. Your screenshots never get uploaded to a server, which means it's both private and fast.
Step 3: Write your caption
Add a headline above or below the device. Keep it short and benefit-focused. A few tips:
- One idea per screenshot. Don't cram three features into one caption.
- Use the bold and italic formatting to emphasize the key word.
- Pick a font that matches your app's personality — playful, serious, minimal.
Step 4: Localize (optional but worth it)
If your app supports multiple languages, localized screenshots noticeably help conversion in those regions. Instead of rebuilding each set by hand, you can auto-translate your captions into 19 languages with one click, with the formatting preserved. People are far more likely to download an app whose store listing speaks their language.
Step 5: Export
When you're happy, export. You can download a single image, or export every screen across every language as a ZIP, neatly organized by locale and store size — ready to drop straight into App Store Connect or Google Play Console.
A few things to avoid
- Tiny captions. If you can't read it in the search-results thumbnail, neither can your users.
- Inconsistent frames. Mixing device styles across screenshots looks unfinished.
- Burying your best feature. Your first screenshot should sell the app on its own.
- Skipping localization for big markets. If a chunk of your audience speaks another language, it's worth the few extra clicks.
That's it
Good store screenshots aren't about fancy design software — they're about clear captions, legible text, and consistency. With a free browser tool you can go from raw screen captures to a complete, localized, store-ready set in one sitting.
When you're ready, open LaunchShots and give it a try. It's free, there's no signup, and nothing leaves your browser.
Related posts
Make your App Store screenshots free
LaunchShots is a free, in-browser screenshot maker. No signup, no watermark.
Open the app →
Comments (0)