App Store Rejection Appeals: How to Win in 2026
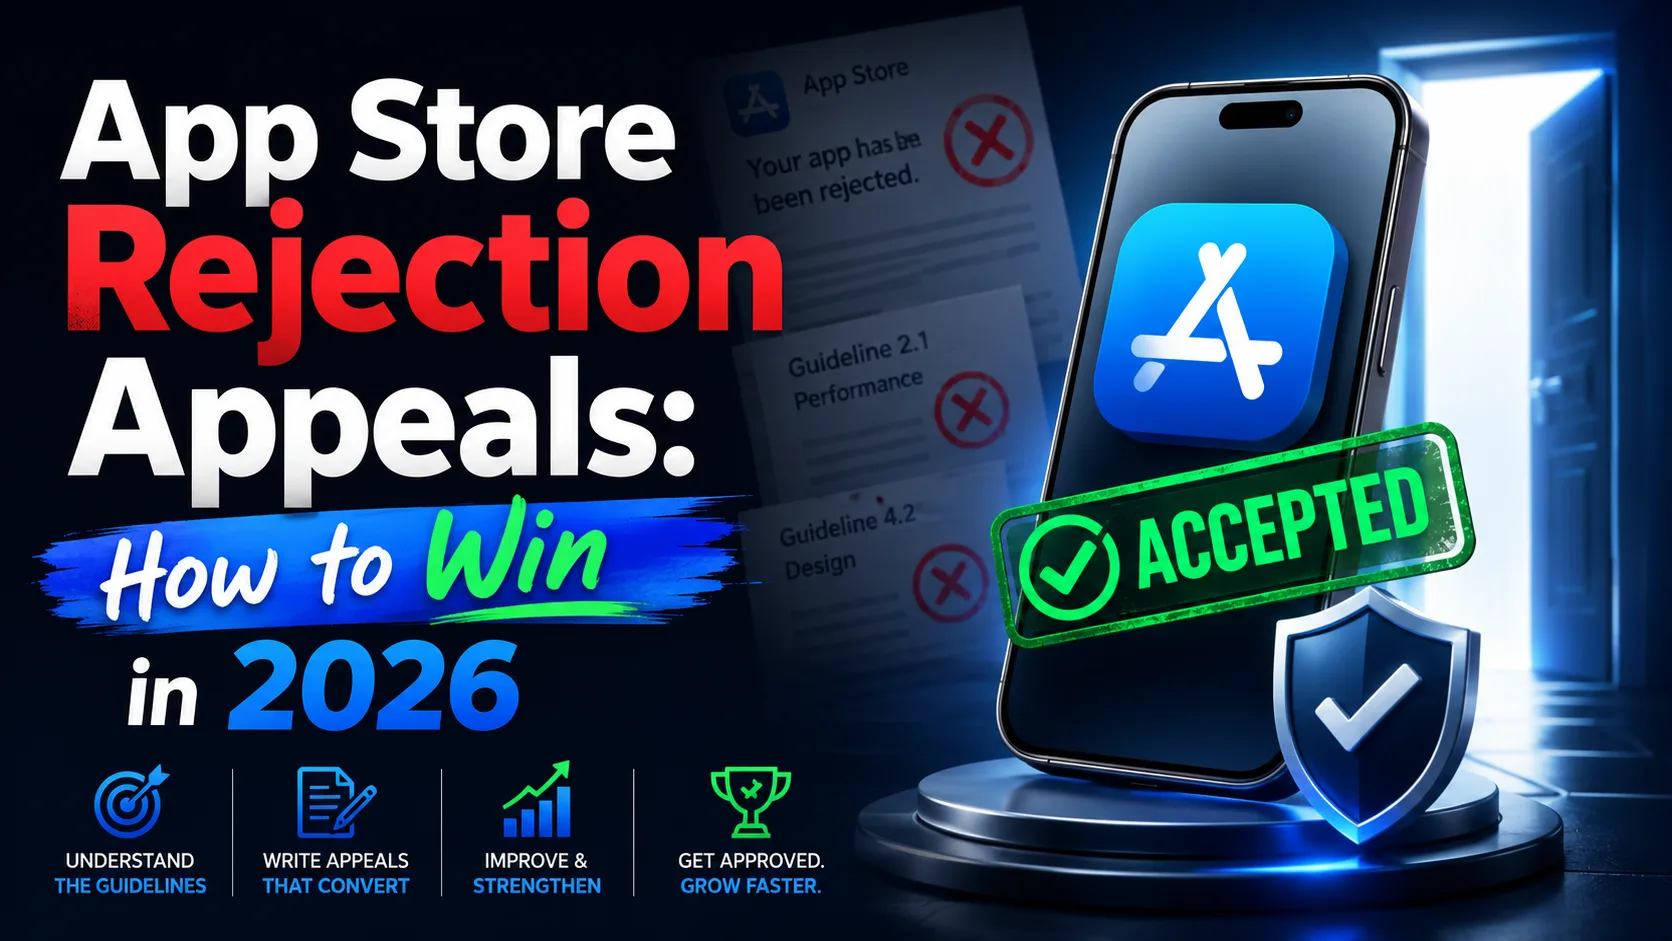
Your app just got rejected. Apple cited a guideline you don't think applies, and your launch date is next week. The Resolution Center is staring at you with a "Reply to Apple" button and you have one shot to either fix it, explain it, or escalate it. Get the response wrong and you're stuck in a rejection-resubmission loop that adds weeks to your launch. Get it right and you're approved in 24–48 hours. This is the operator-level guide to App Store rejection appeals in 2026: when to fix, when to reply, when to escalate to the App Review Board, and the exact tone and structure that actually changes Apple's mind. The honest answer to "how do I win an appeal" is more about discipline than diplomacy — and following the right process is the difference between a 24-hour resolution and a 3-week stall.
The three response paths after rejection
When Apple rejects your submission, you have three distinct paths forward. Picking the right one for your specific rejection determines how fast you get approved:
- Fix and resubmit. If the rejection is clear and the fix is obvious — missing privacy policy URL, broken sign-in, mismatched screenshots — fix it and submit a new build. Re-reviews typically clear in 24–72 hours, often faster than initial reviews. This is the right path for 70–80% of rejections.
- Reply in the Resolution Center. If you disagree with the rejection, the reviewer misunderstood your app, or you need clarification before fixing, respond through Resolution Center. Apple typically replies within 24–48 hours. No new build required.
- Escalate to the App Review Board. If the Resolution Center back-and-forth fails and you believe the rejection misapplies Apple's guidelines, you can formally appeal to the App Review Board. Response takes 5–10 business days. Use sparingly — you get one appeal per rejected submission.
The mistake most developers make is jumping straight to escalation. In practice, fixing the issue and resubmitting is faster than appealing in roughly 90% of cases. Save the App Review Board for genuine guideline disputes, not for "I think this is unfair."
Step 1: Read the rejection carefully (and twice)
Apple's rejection emails are short, but they pack important information in specific places:
- The guideline citation. Apple cites the specific App Store Review Guideline section (e.g., "2.3.10 Accurate Metadata" or "5.1.1 Data Collection"). Each citation links to the exact rule. Read the guideline itself, not just Apple's summary.
- The reviewer's notes. Apple's email or Resolution Center message includes specifics — which screen, which behavior, which feature. Most rejections cite multiple guidelines. Miss one, fix only the obvious one, and you'll get rejected again for the one you missed.
- The rejection type. A "metadata rejection" means you can fix issues like description or screenshots without uploading a new binary. A "binary rejection" requires a new build. Knowing which type saves time.
- The "next steps" section. Apple sometimes tells you exactly what they need to approve the app. If Apple writes "please provide test credentials" — provide test credentials. Don't argue about whether they need them.
Copy each cited section into a task list and work through them individually. Address every cited guideline in your response, not just the most prominent one.
Step 2: Decide — fix or fight
Before drafting any response, decide whether you should fix the issue or contest it. The honest framework:
Fix if:
- The cited guideline clearly applies.
- The fix takes less than a day.
- You can't make a clear, factual case that the reviewer misunderstood.
- Your launch date pressures you to ship quickly.
- The fix is something you'd be embarrassed about anyway (broken sign-in, misleading screenshots, missing privacy policy).
Reply or appeal if:
- The reviewer demonstrably misunderstood how your app works.
- The cited guideline doesn't apply to your situation.
- You can point to other approved apps with the same feature (be ready to name them).
- You have evidence the reviewer missed information you provided.
- The "fix" would require breaking your app's core functionality.
- A previous version with the same feature was already approved.
Fighting a clear, legitimate rejection wastes time you could spend fixing the underlying issue. Fixing a rejection where the reviewer is wrong sets a precedent that makes future submissions harder. Pick the right battle.
Step 3: Reply in the Resolution Center (the fast path)
For most contested rejections, the Resolution Center is where you'll actually win. Apple typically responds within 24–48 hours, and the reviewer who reads your reply is often different from the one who wrote the rejection — which can work in your favor.
The structure of an effective Resolution Center reply:
- Open with respect, not protest. "Thank you for the detailed review of [App Name]. We've carefully reviewed Guideline X.X and would like to provide additional context that may not have been visible during the initial review."
- Address each cited guideline separately. If Apple cited Guideline 2.3.10 and 5.1.1, write a paragraph addressing each one. Don't bundle them.
- Provide evidence, not argument. Screenshots, video, code references, license documents, links to the same feature in approved apps. Apple's reviewers respond to evidence; they don't respond to opinion.
- Cite Apple's own guidelines back when applicable. "Guideline 4.0 states that apps with similar functionality have been approved when [specific condition]. Our app meets [that condition] because…"
- End with a specific, polite request. "Please reconsider this rejection under Guideline X.X. We're happy to provide additional documentation or set up a screen-sharing session if helpful."
- Keep it short. Two to four paragraphs is plenty. Apple's reviewers handle hundreds of cases per week. A wall of text reduces your chance of being read carefully.
One critical detail: your rejected build stays in App Store Connect during the Resolution Center exchange. You don't need to upload a new build to reply. Don't withdraw the submission; you'll lose your queue position.
Step 4: When to escalate to the App Review Board
If two or three exchanges in the Resolution Center don't resolve the issue and you genuinely believe Apple's interpretation is wrong, the App Review Board is your formal appeal venue. The process:
- Submit through the appeal link. In App Store Connect → Resolution Center → your rejected app → "Appeal" link at the bottom of the message. Or go directly to
developer.apple.com/contact/app-store/?topic=appeal. - One appeal per rejected submission. You cannot appeal multiple times for the same rejection. Make it count by collecting all your evidence first.
- Response time: 5–10 business days. Slower than Resolution Center; reflects that a different (more senior) team reviews appeals.
- Option for phone call. You can request a verbal discussion with Apple's review team. This sometimes resolves cases where written communication fails.
- Be more formal in tone. The Appeal Board treats appeals like a formal complaint. Reference specific guidelines, cite specific evidence, and avoid emotional language entirely.
The Appeal Board is genuinely staffed by people with more authority than first-line reviewers. They can — and do — overturn rejections. But the bar is "the original review was incorrect," not "I don't like the outcome."
What actually works in appeals
Across thousands of indie developer appeals, the patterns that consistently succeed:
- Specific evidence beats abstract argument. "Here's a video showing our consent dialog at 0:23 of the flow" wins. "Our app clearly complies with the guideline" loses.
- Naming approved competitors helps. "Apps with similar functionality — including [App A] (Bundle ID com.x.app-a) and [App B] (com.y.app-b) — have been approved under the same conditions." Be ready to back this up; Apple checks.
- Citing previous approval of your own app helps. "Version 1.2.3 of this app, submitted on [date], included the same feature and was approved." Apple checks this too.
- Demonstrating you understand the guideline matters. Reviewers read appeals from developers who clearly haven't read the guideline more skeptically. Quote the guideline back at them and explain how your app meets it.
- Offering an alternative compliance path. "If the reviewer prefers, we could add [specific change] that would address the concern while preserving the core functionality." Shows good faith.
- Asking for a phone call. When written exchanges stall, a verbal discussion often unlocks the case. Request it through the App Review Appointment system in the Resolution Center.
What never works (and often makes things worse)
Patterns that consistently fail or backfire:
- Twitter rage, public pressure, viral posts. Apple's review team has explicit guidance to not respond to public pressure. It demonstrably makes things worse, not better. Your tweet will not move your case — and may flag you as a problem developer.
- Emotional or accusatory language. "This is ridiculous" / "Your reviewer is incompetent" / "We're going to leave the App Store" — all close doors. Keep it factual.
- Repeating the same submission unchanged. Submitting the identical build after a rejection without addressing the issues gets you rejected again, often faster, and may flag your account.
- Creating a new developer account to dodge a rejection. Apple's fraud detection catches this routinely. Consequence: termination of all developer accounts associated with you, including the new one. Don't.
- Hiding features for review and unhiding after approval. Submitting a "clean" version and then enabling restricted features after approval is a violation of Section 4.7 of the Review Guidelines. Apple catches this through random re-reviews. Consequence: app removal.
- Lengthy unfocused replies. 2000-word essays in the Resolution Center don't help. Reviewers handle high volume; concise wins.
- Arguing the guideline itself is wrong. Apple's review team doesn't write the guidelines. Arguing the guideline shouldn't exist gets you nowhere; arguing your app meets the existing guideline can work.
Common rejection categories and how to appeal each
Different guideline citations call for different appeal strategies:
- 2.3.10 (Accurate Metadata): Apple thinks your screenshots, description, or claims don't match the app. Win by providing video of the feature in action and pointing to specific screens. If a feature was removed temporarily for testing, mention it and confirm it's restored.
- 4.0 / 4.2 (Design / Minimum Functionality): Apple thinks your app is too simple or duplicative of a website. Win by demonstrating native features (push notifications, offline use, device sensors, etc.). Hardest category to appeal — often easier to add functionality than argue.
- 4.3 (Spam): Apple thinks your app duplicates an existing app. Win by demonstrating substantive differentiation in UI, functionality, or audience. Cite specific features that distinguish you from the alleged duplicate.
- 4.8 (Sign In with Apple): Apple requires Sign In with Apple if you offer third-party social login. No appeal works here — just add Sign In with Apple. Fast fix.
- 5.1.1 (Privacy): Apple thinks your App Privacy labels don't match your actual data collection. Win by demonstrating exact alignment, providing your privacy policy URL, and reviewing each data category individually. Common; usually fixable.
- 5.1.5 (Account Sign-Up): Apple thinks you're requiring sign-in for content that should be accessible without an account. Win by adding a "guest mode" or allowing browse-without-signup.
- 3.1.1 (Payments): Apple thinks you're processing payments outside the App Store. This is rarely winnable — fix by routing payments through Apple's IAP.
If your rejection cites guidelines not in this list, the same framework applies: read the guideline, identify what they think you did, demonstrate factually that you didn't.
When to give up and ship a different app
Some rejections are unwinnable, and the honest indie path is to recognize them early:
- Your app fundamentally violates a guideline. If you built a betting app and got rejected under gambling restrictions in a market where gambling isn't allowed, that's the guideline working as intended. No appeal will change it.
- Two App Review Board appeals have failed. If you've appealed twice on substantive grounds and been denied both times, Apple is giving you a clear answer. Pivot or ship to alternative platforms.
- The fix is fundamental. Sometimes "fixing the issue" requires gutting the core feature. If your app's premise depends on something Apple won't allow, the path forward is a different premise — not endless appeals.
- Time cost exceeds value. Every week in appeal is a week your competitors ship and grow. If two weeks of appeals would cost more than two weeks of building a different feature, the math is clear.
Knowing when to stop appealing is a discipline. Most experienced indie developers have a story about the appeal they should have abandoned weeks earlier.
Frequently asked questions
How long does an App Store appeal take in 2026?
Resolution Center responses arrive in 24–48 hours. Formal App Review Board appeals take 5–10 business days. If you escalate fully, total elapsed time from rejection to final decision is typically 1–2 weeks.
Can I appeal more than once per rejection?
No. You get one formal App Review Board appeal per rejected submission. Resolution Center exchanges can continue back and forth, but the formal appeal is one shot.
Do I need to submit a new build to appeal?
No. Your rejected build stays in App Store Connect during the appeal process. You only submit a new build if you've fixed the underlying issue.
Can Apple ban my developer account for appealing?
No. Apple expects developers to disagree and appeal. Professional, factual appeals don't damage your standing. What damages your standing is being dishonest, abusive, or attempting to circumvent the system (e.g., creating duplicate developer accounts).
Should I appeal or just fix the issue?
In 90% of cases, fixing the issue and resubmitting is faster than appealing. Appeal when you genuinely believe the reviewer misunderstood your app or misapplied a guideline — not when you think a guideline shouldn't apply to you.
Can I request a phone call with Apple Review?
Yes. The App Review Appointment system in the Resolution Center lets you request a verbal discussion via Webex. Useful when written exchanges have stalled. Available through the appeal escalation flow.
What happens if my appeal is denied?
Your rejection stands. You can fix the underlying issues and resubmit (which starts a new review cycle), or you can choose not to publish on the App Store. There's no further escalation beyond the App Review Board.
Can I publish to Google Play while appealing on the App Store?
Yes. The two stores are independent. Many indie developers ship to Google Play first while working through App Store appeals.
Will Apple ban my app permanently if I keep getting rejected?
Permanent bans are rare and reserved for serious violations (fraud, malware, repeated policy circumvention). Multiple legitimate rejections won't permanently ban you; they just stall this specific submission.
Should I respond aggressively if I think the reviewer is wrong?
No. Aggressive language closes doors. The reviewer who reads your reply may not be the one who wrote the rejection. Treat every exchange as if a new person is reading it — because they often are.
The bottom line
App Store rejection appeals are won with discipline, not diplomacy. Read the rejection twice. Address every cited guideline, not just the most prominent one. Reply in the Resolution Center first; escalate to the App Review Board only for genuine interpretation disputes. Provide evidence — screenshots, video, named competitor apps, your own previous approvals. Keep the tone factual. Avoid public pressure entirely. Most importantly: know when fixing the issue is faster than fighting it. The developers who get through review consistently aren't the ones with the most persuasive appeals — they're the ones who appeal rarely, and decisively, when it actually matters.
If you're at the rejection stage and haven't yet read Apple's review process timeline, our App Store review process guide covers the 7 review states, the 2026 timeline (now 2–5 days for new apps), and how to plan submissions to avoid the queue volatility. Once you're approved, the App Store Connect setup guide covers what comes next, and the screenshots that convert guide covers the post-approval ASO work that turns approval into installs.
Related posts
Make your App Store screenshots free
LaunchShots is a free, in-browser screenshot maker. No signup, no watermark.
Open the app →
Comments (0)