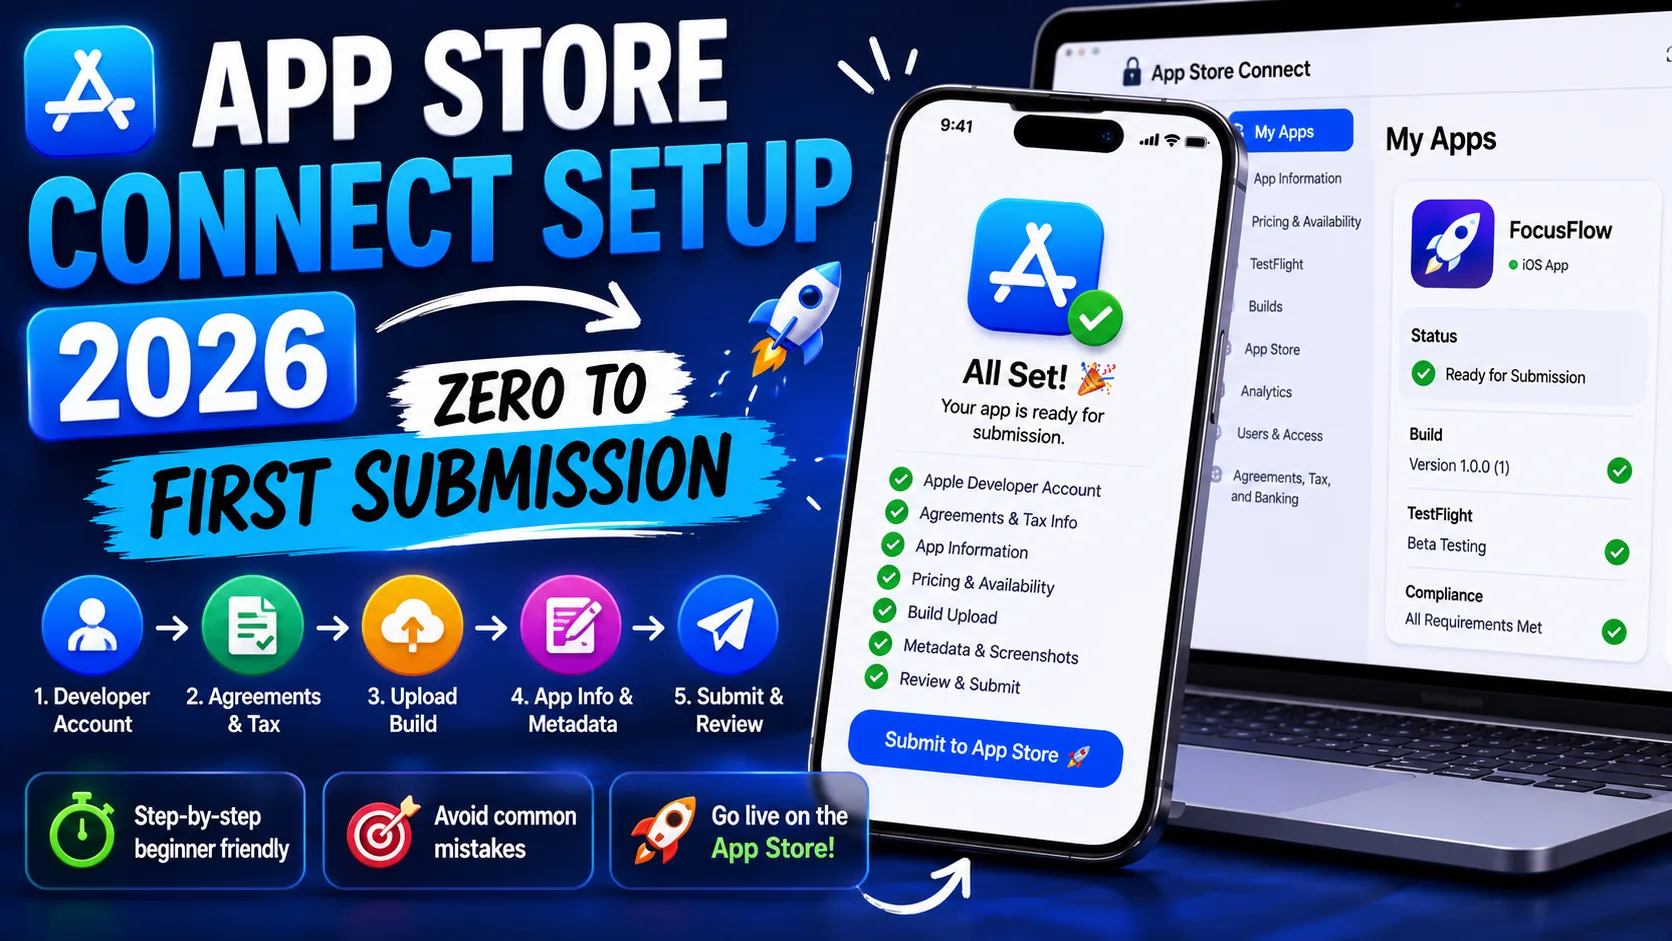
App Store Connect Setup 2026: Zero to First Submission

Getting your first iOS app from "code is done" to "live on the App Store" is the part of indie development with the steepest learning curve and the worst documentation. Apple's setup process involves an Apple Developer account, a Bundle ID, two types of certificates, a provisioning profile, an App Store Connect record, a list of mandatory metadata fields, App Privacy nutrition labels, signed builds, validation checks, and an App Review questionnaire — and they have to be done in roughly the right order or you'll spend days backtracking. This is the operator-level guide for indie developers in 2026: every step from "I just paid $99 to Apple" to "my app is live," what trips people up at each stage, and the 2026-specific changes that will reject your submission if you miss them.
Before you start: the 2026 requirements you cannot ignore
Apple changed several submission requirements in 2026. Skipping any of these will reject your build at upload, before a human reviewer even sees it:
- iOS 26 SDK required as of April 28, 2026. All new app submissions and updates must be built with Xcode 16 or later. Apps built with older SDKs are rejected automatically at upload. If your codebase predates this requirement, recompile with the latest Xcode before submitting.
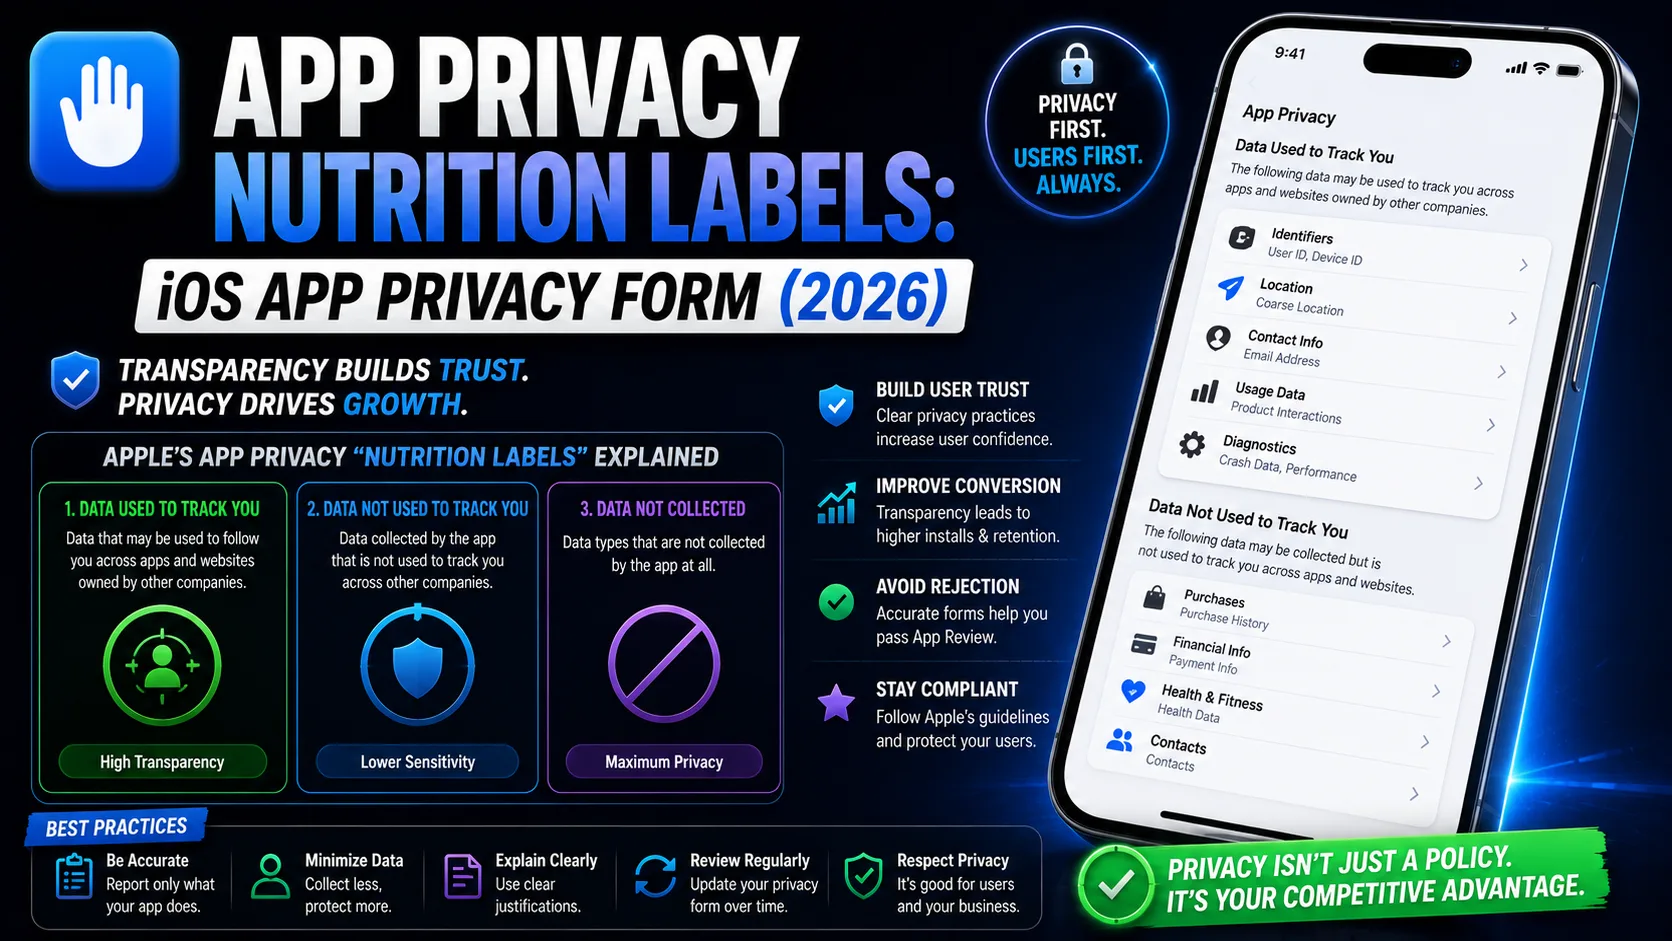
- App Privacy labels mandatory. Apple's "nutrition labels" disclosing what data your app collects and how it's used are required for every submission. Missing or inconsistent labels trigger rejection.
- Privacy policy URL required. Every app — free, paid, with or without accounts — needs a working privacy policy URL. Broken links are auto-rejected. (If writing one is the part you're dreading, our privacy policy generator creates a compliant policy free in seconds.)
- iPhone 6.9" screenshots required. Apple now requires the 1320×2868 (iPhone 6.9") screenshot size. Submissions without it fail; smaller sizes alone are insufficient.
Verify all four before you start the submission flow, not after. Hitting any of these at upload time is a 1–2 day setback.
Step 1: Apple Developer Program enrollment
If you haven't enrolled yet, this is where everything starts. Two decisions matter:
- Individual or Organization? Individual enrollment publishes apps under your personal name and approves in 1–2 days. Organization enrollment publishes under a company name, requires a D-U-N-S number (free, takes 5–7 business days), and approval takes 1–2 weeks. If you've formed an LLC, go Organization. If you're solo experimenting, Individual is fine — you can migrate later.
- $99/year fee. Required for any public App Store distribution. The fee covers TestFlight, push notifications, In-App Purchases, all SDKs, and beta OS access. There's no free path to the public App Store. Pay it.
Once enrolled, accept the latest Paid Applications agreement in App Store Connect under Agreements, Tax, and Banking. Skipping this blocks future steps for reasons that aren't always obvious.
Step 2: Create your Bundle ID
The Bundle ID is the permanent, unique identifier for your app across Apple's entire system. Once an App Record is created with a Bundle ID, you cannot change it. Pick carefully.
Go to developer.apple.com → Certificates, Identifiers & Profiles → Identifiers → Register a new App ID:
- Description: Internal name for your reference.
- Bundle ID: Reverse-domain format:
com.yourcompany.yourappname. Use the actual domain you own. Avoid hyphens, special characters, or trailing numbers. - Capabilities: Enable everything you'll use — Push Notifications, In-App Purchase, Sign In with Apple, iCloud, HealthKit, whatever applies. Disabled capabilities can be enabled later, but it's cleaner to enable upfront.
The Bundle ID has to match exactly what's in your Xcode project's Info.plist file under General → Identity. If they don't match, Xcode validation fails. Set the Bundle ID in both places before continuing.
Step 3: Certificates and provisioning profiles
This is the step that confuses first-time developers more than any other. The mental model that helps:
- Certificate = "Apple knows it's you." Two types you need: a Development Certificate (for testing on real devices) and a Distribution Certificate (for uploading to TestFlight and the App Store).
- Provisioning Profile = "Apple knows this app is allowed to run." It ties together your Bundle ID, your certificate, and the devices/distribution method.
The mechanical steps:
- Generate a Certificate Signing Request (CSR) on your Mac. Open Keychain Access → Certificate Assistant → Request a Certificate from a Certificate Authority. Enter your Apple Developer email. Save the CSR file to disk.
- Create the Distribution Certificate. Go to developer.apple.com → Certificates → "+" → Apple Distribution → upload your CSR → download the resulting
.cerfile → double-click to install in Keychain. - Create the Distribution Provisioning Profile. Go to Profiles → "+" → App Store → select your App ID → select your Distribution Certificate → name the profile → download and double-click to install in Xcode.
- Repeat for Development (Apple Development certificate + iOS App Development provisioning profile) if you want to test on real devices before submission.
Modern Xcode versions can manage this automatically — Xcode → Settings → Accounts → your Apple ID → Manage Certificates. For most indie developers, automatic signing in Xcode (Project → Signing & Capabilities → Automatically manage signing) handles this cleanly. The manual path matters when something goes wrong or you need to share certificates with a CI/CD system.
Step 4: Create your App Store Connect record
Go to App Store Connect → My Apps → "+" → New App. The fields you fill in here are critical — most can't be changed once you submit your first build:
- Platforms: iOS, macOS, tvOS, watchOS, or visionOS. Pick all that apply to your app.
- App Name (30 characters): The name users see in search. Must be unique across the entire App Store. This is your highest-weight search field — pair your brand name with a primary keyword: "Streak — Habit Tracker", not just "Streak." Our title vs subtitle guide covers what goes where.
- Primary Language: The default language for all metadata. Pick the language of your largest target market. Hard to change later.
- Bundle ID: Select the Bundle ID you registered in Step 2. Must match exactly.
- SKU: Your internal tracking identifier. Not visible to users. Something like
com.yourcompany.appname.001works. - User Access: Full Access is fine for solo developers. Limited Access matters only for multi-person teams.
The "App Name", "Bundle ID", and "Primary Language" fields are functionally permanent once a build is submitted. Verify them before clicking Create.
Step 5: Complete the App Information sections
App Store Connect's left sidebar has a dozen sections that need filling. The ones you can't skip:
- App Information: Category (primary + secondary), Content Rights (do you own the content? if you license it, declare), Age Rating (questionnaire that takes 5 minutes), and Privacy Policy URL.
- Pricing and Availability: Free or paid; if paid, which tier (Apple's tier table maps to local currencies). Which countries to distribute in (default: all 175 regions). When the app becomes available (manual or automatic on approval).
- App Privacy (nutrition labels): Disclose every type of data your app collects, why, and whether it's linked to user identity. This is mandatory in 2026 and often where indie devs get tripped up — be thorough and accurate.
- iOS App version page: The fields that change with each version — what's new in this version (up to 4,000 characters), promotional text (170 characters), description, keywords (100 characters), support URL, marketing URL.
- Screenshots: Required for every device size your app supports. iPhone 6.9" (1320×2868) is mandatory in 2026. iPad screenshots are required if your app supports iPad. Our screenshot editor generates the full set in every required size from a single design.
- App icon: 1024×1024 PNG, no transparency, no rounded corners. Our app icon generator exports the correct sizes for both App Store and Google Play.
One commonly missed field: App Review Information. This is where you give Apple a demo account if your app requires login, plus contact info and notes. Skipping it triggers a "we couldn't test your app" rejection.
Step 6: Validate and upload your build
In Xcode, before you submit anything:
- Set the destination to "Any iOS Device". Don't archive against a specific simulator.
- Increment your build number. Every build uploaded to App Store Connect needs a unique build number, even if the version number stays the same.
- Product → Archive. Xcode compiles your release build. Takes 1–10 minutes depending on app size.
- Product → Validate App. Before distributing, run validation. This catches signing issues, missing entitlements, prohibited API usage, and asset problems before they become App Store Connect rejections. Fix everything Validate reports.
- Product → Distribute App → App Store Connect → Upload. Xcode uploads the archive to Apple. Takes 2–15 minutes depending on file size and connection speed.
- Wait for processing. After upload, App Store Connect processes the build for 15–60 minutes (occasionally longer). Once processing completes, the build appears in TestFlight and is selectable for your App Store version.
Common upload failures: missing iOS 26 SDK (post-April 28, 2026), invalid entitlements (you enabled a capability in Xcode but not in the App ID), expired certificate, or a Bundle ID mismatch. The error messages aren't always clear, but the cause is almost always one of those four.
Step 7: Submit for App Review
Once your build is processed and all metadata fields are complete:
- Select your build on the version page (iOS App version → Build section → "+" → pick the processed build).
- Answer the App Review Questionnaire. Apple asks about content rights, encryption, third-party content, and any specific features that need review (sign-in, payments, subscriptions, ATT permission, etc.). Be honest — wrong answers trigger rejection later.
- Submit for Review. Apple's review queue is currently averaging 24–48 hours for first submissions, sometimes faster, occasionally up to 7 days for complex apps.
While you wait, don't make changes to your submission. Edits during review can reset the queue position.
The common rejections that delay launches
Apple's review team rejects roughly 25–30% of first submissions. The patterns are predictable:
- Incomplete metadata. Missing privacy policy URL, missing screenshots for a required device size, missing demo account credentials, empty "what's new in this version" — all common rejections.
- App Privacy mismatches. Your privacy nutrition labels say "no data collected" but the app uses analytics. Apple cross-checks. Disclose everything accurately.
- Crashes on launch. Reviewers test on the latest iOS version. If your app crashes immediately, you're rejected. Test on the most recent iOS beta yourself.
- Reviewer can't sign in. Forgot to provide a demo account, or the demo account credentials don't work. Always test the demo account before submitting.
- Misleading descriptions. Screenshots show features that don't exist, or the description promises capabilities the app doesn't have. Match the listing to reality.
- Sign In with Apple missing. If your app offers third-party social login (Google, Facebook), Apple requires Sign In with Apple as an option. Add it or remove the third-party options.
- Outdated SDK. Post-April 28, 2026: any submission not built with iOS 26 SDK / Xcode 16+. Recompile and resubmit.
If you do get rejected, the rejection details in App Store Connect usually identify the issue specifically. Fix it, respond, and resubmit. Second submissions are typically processed faster than the first.
How long the whole process really takes
Realistic timelines for a first-time submission in 2026:
- Apple Developer enrollment: 1–2 days (Individual), 1–2 weeks (Organization with D-U-N-S).
- Bundle ID + certificates + profiles: 1–3 hours if Xcode auto-manages, 1–2 days manually.
- App Store Connect record + metadata: 4–8 hours of focused work for a first app (writing copy, generating screenshots, completing privacy labels).
- Build upload + validation: 1–2 hours if everything's correct on first try, longer if validation fails.
- App Review: 24–72 hours for typical first submissions, occasionally longer.
Total elapsed time from "I have a working app" to "live on the App Store": 1–2 weeks for a focused indie developer, sometimes faster, occasionally slower. The variable that determines speed isn't your engineering skill — it's how prepared your metadata, assets, and privacy disclosures are before you start.
Frequently asked questions
Do I need a Mac to submit an iOS app?
Yes. Xcode runs only on macOS, and you cannot upload to App Store Connect without it. Cloud-based Mac services (MacStadium, Anka, GitHub Actions runners) work if you don't own a Mac.
Can I change my app name after submission?
Yes, but only by submitting a new version with the new name. The name change goes through review along with everything else. Bundle ID, however, is truly permanent.
What happens if my app gets rejected?
Apple sends a rejection notice with specific reasons. Fix the issues, respond via Resolution Center (or just resubmit if the fix is obvious), and Apple reviews again. Most apps that get rejected the first time get approved on the second or third try.
Do I need an LLC to publish on the App Store?
No. Individual enrollment is fine. An LLC mostly matters for tax structure, liability protection, and listing professionalism — not for legal access to the App Store.
Can I test my app before submitting to App Review?
Yes, via TestFlight. Upload your build to App Store Connect, distribute it through TestFlight to internal team members (immediate) or up to 10,000 external testers (after a one-time Beta App Review of 24–48 hours). TestFlight is the recommended path before public submission.
How much does it cost in total?
Realistic full cost: $99/year Apple Developer Program (required), plus optional D-U-N-S number (free, only for Organizations), plus your time. Visual assets (icon, screenshots, feature graphics) and ASO copy can all be done free with the right tools. Total cash cost for an indie developer: $99/year.
Does it cost extra to publish in multiple countries?
No. The $99 covers distribution to all 175 App Store regions. You opt in or out per region; the fee is the same regardless of coverage.
What's the difference between TestFlight and a final submission?
TestFlight is pre-launch beta distribution to up to 10,000 testers. Final submission to App Review is the public release. Both go through Apple, but TestFlight reviews are typically faster (24–48 hours) and the requirements are lighter. Most indie developers run TestFlight for 2–4 weeks before submitting for public release.
Can I use my own privacy policy or do I need a specific format?
You can write your own. Apple doesn't require a specific format, only that the URL works and the policy accurately describes your app's data practices. The privacy policy must match your App Privacy nutrition labels in App Store Connect.
The bottom line
App Store Connect setup feels overwhelming because it has seven different systems (Apple Developer Program, Bundle IDs, certificates, provisioning profiles, App Store Connect, App Privacy labels, App Review) that have to work together correctly. The trick isn't engineering skill — it's preparation. Have your visual assets ready before you start. Write your metadata copy in advance. Generate your privacy policy ahead of time. Complete your App Privacy questionnaire honestly. Validate your build in Xcode before uploading. Do those five things well, and the actual submission flow takes hours instead of days.
Once you're live, the real work begins — ranking in search, converting visitors into installs, and turning installs into revenue. Our guides on the 100-character keyword field, the 4,000-character description, and App Store screenshots that convert cover the ASO side. For the financial side, the Apple Small Business Program guide covers how to cut your commission from 30% to 15% on your first $1M in proceeds. And if you want to run a TestFlight beta before your full launch, our TestFlight guide covers filling 10,000 beta tester slots in 30 days.
Related posts
Make your App Store screenshots free
LaunchShots is a free, in-browser screenshot maker. No signup, no watermark.
Open the app →
Comments (0)