Google Play Console Setup 2026: Zero to First Release
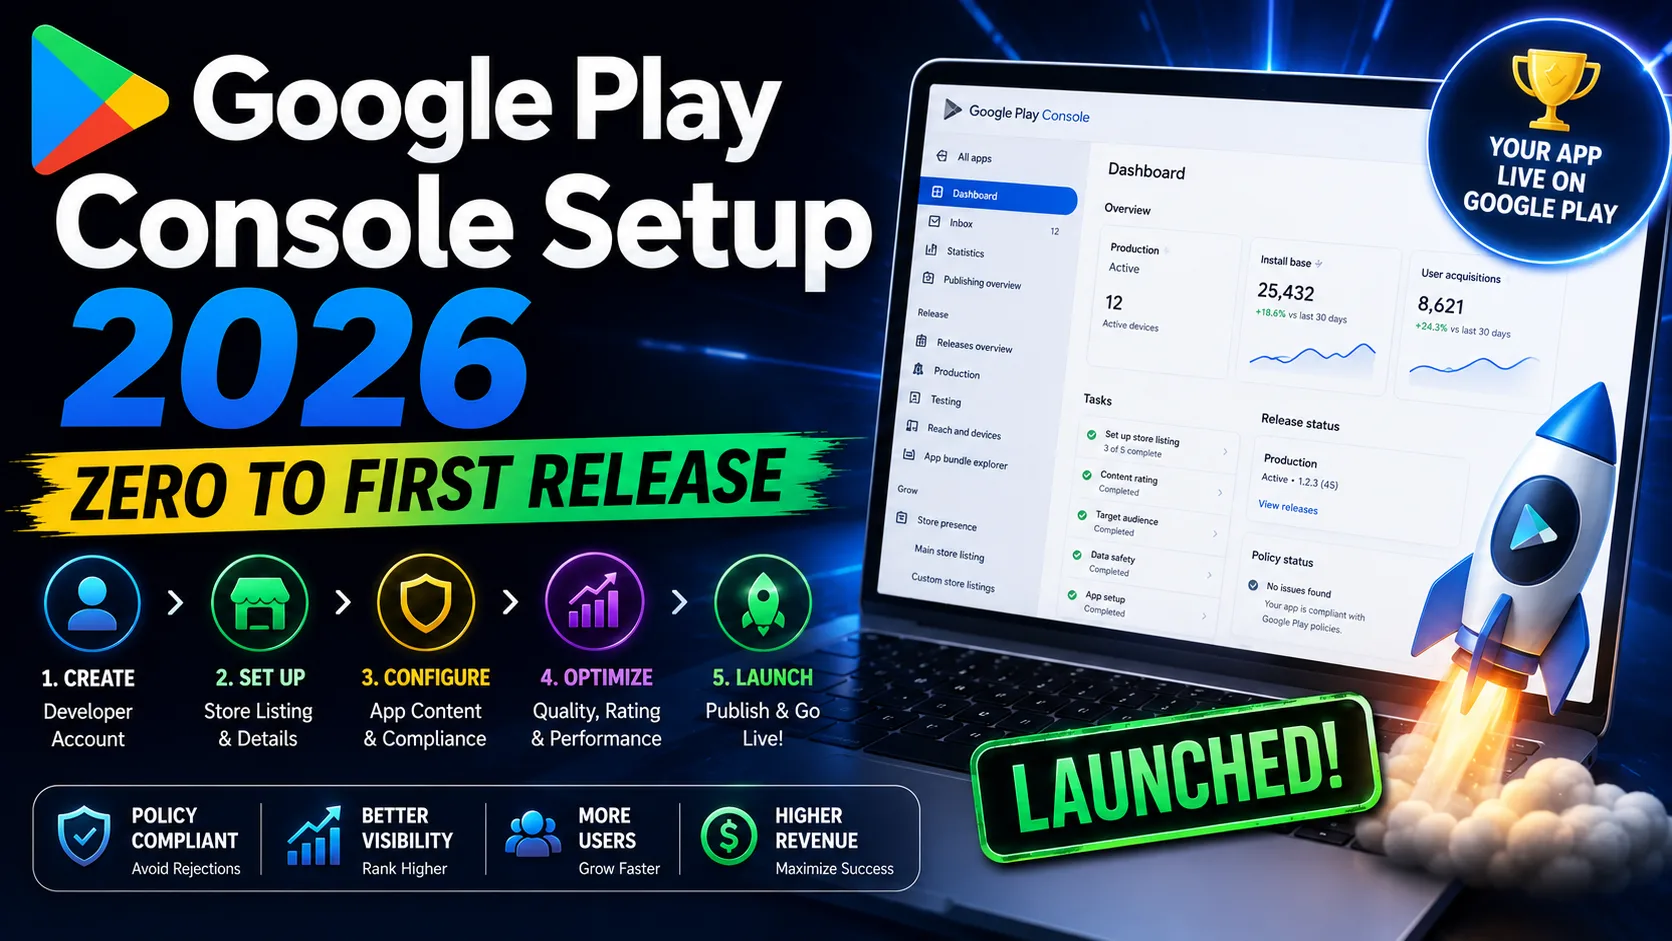
Publishing your first Android app on Google Play is a different process from the App Store, and the differences trip up indie developers who assume "I shipped on iOS, this should be similar." It's not. Google charges $25 once instead of $99 per year. There's no Apple-style review queue; instead, there are three testing tracks you have to navigate before you can publish to production. The Data Safety form is mandatory and unforgiving. Android 16 (API 36) is now required for all new apps as of August 31, 2026. And the new Closed Testing requirement — 14 continuous days with at least 12 testers — adds weeks to your launch timeline if you're an individual developer. This is the operator-level guide for indie developers in 2026: every step from "I just paid $25 to Google" to "my app is live on Play Store," what trips people up at each stage, and the 2026-specific changes that will block your release if you miss them.
Before you start: the 2026 requirements that will block you
Google updated several submission requirements in 2026. Skipping any of these blocks your release before a human reviewer even sees it:
- Android 16 (API 36) required as of August 31, 2026. All new app submissions must target SDK level 36 or higher. Apps targeting older API levels are rejected at upload. Update your
build.gradletargetSdk before submitting. - App Bundle (AAB) only. Google no longer accepts APK uploads for new apps. You must export as Android App Bundle (.aab) from Android Studio. APKs from older toolchains are rejected.
- Closed Testing requirement (for personal developer accounts). Individual developer accounts created after November 2023 must run a Closed Testing track for 14 continuous days with at least 12 active testers before production access is unlocked. Organization accounts skip this requirement.
- Data Safety form mandatory. Every app — even those collecting no data — must complete the Data Safety declaration in App Content. Missing or inconsistent disclosures trigger rejection or removal.
- Privacy policy URL required. Hosted on HTTPS, accessible without login, consistent with your Data Safety declarations. Broken or 404 URLs are auto-rejected. (Our privacy policy generator creates a compliant policy in seconds, free.)
- Content rating questionnaire. Free IARC questionnaire takes 5 minutes. Without it, your app can't go public.
Verify all six before you start the submission flow. Hitting any of them at upload time costs 1–2 days minimum.
Step 1: Google Play Developer Console enrollment
If you haven't enrolled yet, this is where everything starts. Two decisions matter:
- Personal or Organization account? Personal accounts cost $25 one-time but require the Closed Testing dance before production access (14 days + 12 testers). Organization accounts cost $25 but require D-U-N-S number verification, take 1–4 weeks to approve, and skip the Closed Testing requirement. For solo indies shipping their first app: Personal account, plan for the testing window. For LLCs or studios: Organization, eat the verification delay.
- $25 one-time fee. Required for any Play Store distribution. Unlike Apple's $99/year, Google charges this once and you're set for life. Payment via credit card.
Once enrolled, accept the latest Play Console agreements (Developer Distribution Agreement, Content Policy, US Export Compliance). Some sections of Play Console stay locked until you accept all three.
Step 2: Create your app in Play Console
In Play Console → All apps → Create app. The fields you fill in here matter — most are permanent once you submit your first build:
- App name (30 characters): The name users see in search and listings. Must be unique. Pair your brand with a primary keyword: "Streak — Habit Tracker" outperforms just "Streak." Unlike App Store, Google Play indexes your description for search ranking, so the title carries less ASO weight here — but it's still your strongest brand signal.
- Default language: The primary language for your listing. Pick the language of your largest target market. Localize others later.
- App or Game? Affects category options and review tone. Honest answer; don't try to game it.
- Free or Paid? Decides whether you can add in-app products later. Free apps can add IAPs anytime; paid apps stay paid (you can change pricing but not the paid/free flag easily).
- Declarations: Confirm you'll meet Play's policies, US export laws, and developer terms. Required to proceed.
The package name (Bundle ID equivalent) is set in your build.gradle and AAB, not in this form — and it's permanent once a release is uploaded. Pick wisely: reverse-domain format, lowercase, no special characters. com.yourcompany.yourapp.
Step 3: Generate and protect your signing key
Every Android app needs a signing key. Lose it and you can't push updates — ever. The mechanics:
- Option A: Play App Signing (recommended). Google manages your app signing key for you. You generate an upload key locally; Google re-signs your bundle for distribution. If you lose your upload key, Google can reset it. Most indie developers should pick this.
- Option B: Self-managed signing. You keep the production signing key entirely. If you lose it, you cannot push updates — your app is effectively dead. Only choose this if you have specific compliance requirements.
To generate the upload key:
- In Android Studio: Build → Generate Signed Bundle/APK → Android App Bundle.
- Create a new keystore: pick a path, set a strong password (save it in a password manager).
- Set key alias, key password, validity (25+ years is standard).
- Fill in certificate fields (your name, organization, location).
- Back up the keystore file immediately. Save copies in at least two places — password manager attachment, encrypted cloud storage, external drive. Lose this file and you can't ship updates.
The single most preventable indie disaster: losing the keystore. Back it up before you build the first signed bundle.
Step 4: Build your signed Android App Bundle
In Android Studio:
- Target SDK = 36 (Android 16). In
build.gradle:targetSdk = 36. Lower versions are rejected for new apps as of August 31, 2026. - Increment your versionCode and versionName. Every upload needs a unique versionCode. Start at 1; increment with every build, even for testing.
- Build → Generate Signed Bundle/APK → Android App Bundle. Pick your keystore and key alias. Android Studio compiles and signs your AAB.
- Output:
app/build/outputs/bundle/release/app-release.aab. This is what you upload to Play Console. - Check the size. AABs are typically smaller than APKs because Google generates device-specific APKs from the bundle on download. Most indie apps land at 20–80 MB. If yours is approaching 150 MB+, audit your assets.
Test on a real device before uploading. The most common cause of Closed Testing rejection isn't policy — it's the app crashing on launch.
Step 5: Complete the mandatory compliance forms
Before any release can go to production, you must complete the App Content sections. Under Policy → App Content:
- Privacy Policy: Hosted on HTTPS, accessible without login. Must match your Data Safety form. Missing or 404 URLs = auto-rejection.
- App Access: If your app requires login, provide demo credentials. Google's review team needs working test credentials. Without these, your app gets rejected with "couldn't test the app." Single biggest preventable rejection.
- Ads: Declare whether your app shows ads. Affects category placement and parental controls.
- Content rating (IARC questionnaire): Free, takes 5 minutes. Answer honestly — wrong answers can trigger removal if Google's automated checks catch them later.
- Target audience and content: Age groups your app targets. Drives parental control behavior on the Play Store.
- News apps declaration: Only if you're a news app. Skip if not.
- COVID-19 contact tracing: Only if applicable. Most apps skip.
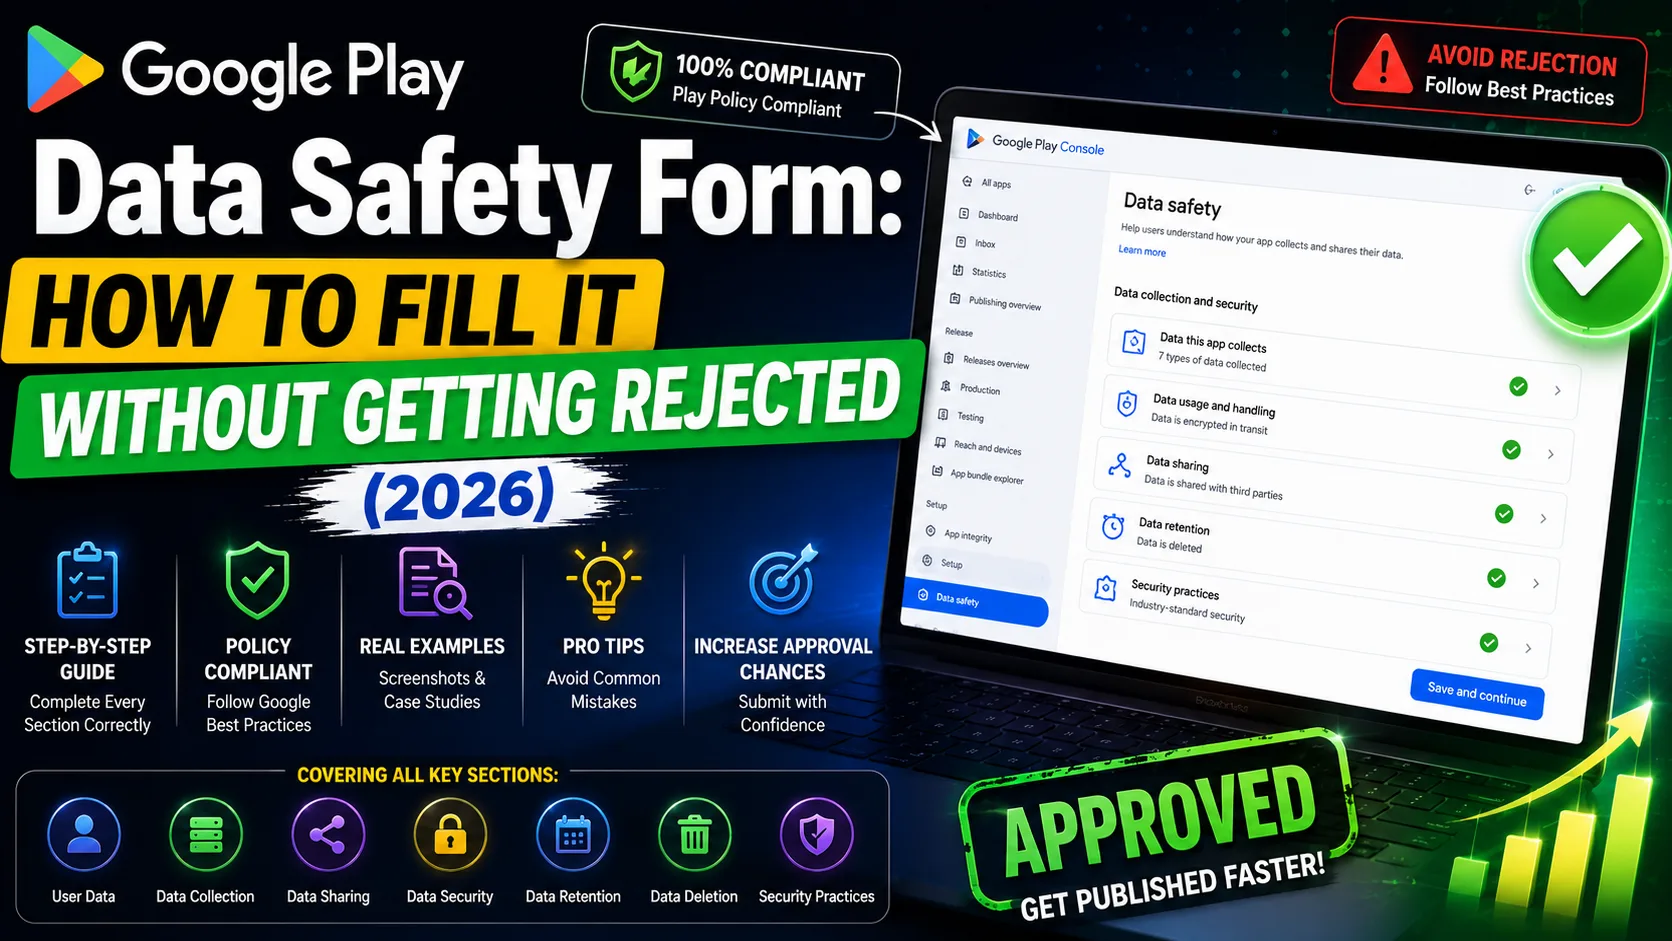
- Data Safety form: Mandatory. Every data type your app collects, what it's used for, whether it's shared. Inconsistencies with your actual behavior trigger removal. Complete this with your privacy policy open in another tab for cross-checking.
- Government apps: Only for verified government developers. Skip if not.
- Financial features: If your app deals with money. Most don't.
- Health apps: If your app handles health data. Triggers additional review.
The compliance forms section is where most indie developers underestimate the time investment. Realistic estimate: 1–2 hours of focused work for a first app. Have your privacy policy URL and Data Safety details ready before you start.
Step 6: Upload to Internal Testing (start here)
Internal Testing is the fastest track and where every release should start:
- Testing → Internal testing → Create new release. Drag in your signed AAB.
- Available within minutes. Unlike all other tracks, Internal Testing publishes immediately. No review wait.
- Up to 100 testers. Add their Gmail addresses individually or use a Google Group. Testers receive an opt-in link.
- Add release notes. Even for Internal Testing — what's new, what to test, known issues.
- First upload is temporary. For 48 hours after your first upload, the store listing shows placeholder info. After 48 hours, your actual metadata kicks in.
Test the install flow on a real device using one of your tester emails. Verify the app launches, all core flows work, and crash reporting (Firebase Crashlytics, Sentry) shows no immediate issues.
Step 7: Closed Testing (the 14-day requirement)
This is where Google added significant friction for individual developer accounts in 2024 and tightened in 2026. To unlock production access on a personal account, you must:
- Run Closed Testing for 14 continuous days. No skipping, no shortcuts.
- Have at least 12 active testers. "Active" means they opted in and installed the app. Adding 12 emails without their participation doesn't count.
- Apply for production access. After 14 days with 12+ active testers, a button appears in Play Console to apply for production rollout. Google reviews the application (1–7 days).
The mechanics:
- Testing → Closed testing → Create new track. Name it (e.g., "Beta Testing v1").
- Add testers via opt-in link or email list. Opt-in links are easier — share the link via Discord, Twitter, Reddit, or wherever your community lives.
- Upload your signed AAB. Same bundle as Internal Testing, or an updated one.
- Monitor the testing dashboard. Google displays your progress toward the 12-tester / 14-day requirement.
Practical advice for solo developers: start recruiting testers before you have a finished app. Build a list of 20–30 people who'll opt in immediately. Discord communities, friend networks, indie developer Slack groups, and Reddit comments all work. The 12-tester minimum is harder than it sounds for a solo developer with no audience.
For more context on filling beta tester slots fast, see our TestFlight beta tester guide — the playbook applies to Closed Testing too.
Step 8: Complete your Store Listing
Before you can publish to Production, the Store Listing has to be complete. Under Grow users → Store presence → Main store listing:
- App name (30 characters): Already set during creation. Edit here if needed.
- Short description (80 characters): Indexed for Play Store search. This is your Google Play equivalent of an App Store subtitle, but indexed. Pack your most important keyword here.
- Full description (4,000 characters): Indexed for search on Google Play (unlike on App Store, where it's conversion-only). Write naturally with keywords woven in. Our description writing guide covers what works for both stores. Our ASO description generator writes a draft in seconds.
- App icon (512×512 PNG): Required. No transparency, no rounded corners (Google adds those automatically). Our app icon generator exports correct sizes for both stores.
- Feature graphic (1024×500): Required for Play Store listing. No equivalent on App Store. This banner image displays prominently on your store page. Our feature graphic maker generates a compliant 1024×500 image free.
- Phone screenshots (min 2, recommended 8): Required. 1080×1920 minimum; higher resolutions accepted. Our screenshot editor generates correctly-sized exports.
- 7-inch tablet screenshots: Optional but recommended if you support tablets.
- 10-inch tablet screenshots: Optional but recommended.
- Video (YouTube URL): Optional but boosts conversion. Unlike App Store preview videos, this points to YouTube — you don't upload directly.
Step 9: Submit to Production
Once Closed Testing requirements are met (or you're on an Organization account that skips them), you can publish to Production:
- Release → Production → Create new release.
- Add your signed AAB. Often you'll promote from Closed Testing rather than uploading a new bundle.
- Release notes: User-facing description of what's new (500 character limit per language).
- Countries/regions: Pick which markets get your app. Default: all eligible regions. You can restrict per release.
- Review and confirm. Click Submit for Review.
Google's production review typically takes 1–7 days for first releases, faster for updates from established developers. The review is more automated than Apple's — your app gets policy-checked, security-scanned, and reviewed by Google's team where flagged. No "Waiting for Review" → "In Review" status updates like Apple; you just wait until the status changes to Published or Rejected.
The common rejections that delay launches
Google rejects roughly 20–25% of first submissions. The patterns are predictable:
- Data Safety mismatch. Your Data Safety form says "no data collected" but Firebase Analytics, AdMob, or Crashlytics tells Google otherwise. Match your declarations to your actual SDKs.
- Missing demo credentials. Login-required apps without working test credentials. Provide them in App Access.
- Crashes on launch. Test on multiple real devices, including budget Android phones. Reviewers test on varied hardware.
- Misleading metadata. Screenshots showing features that don't exist. Match your store listing to reality.
- Privacy policy URL doesn't work. Broken or 404 link = auto-rejection.
- Wrong targetSdkVersion. Below 36 (Android 16) for new apps after August 31, 2026.
- Using APK instead of AAB. Upload format mismatch.
- Sensitive permissions without justification. SMS, Call Log, Accessibility Services, and Device Admin require Permissions Declaration form. Most apps shouldn't request these.
- Outdated SDKs. Google flags apps using SDKs with known security vulnerabilities. Keep dependencies updated.
If you do get rejected, the rejection email cites the specific policy and often the specific issue. Fix it, respond if needed via the Resolution Center, and resubmit. Second submissions typically process faster.
How long the whole process really takes
Realistic timelines for a first-time submission in 2026:
- Play Console enrollment: Same day (Personal), 1–4 weeks (Organization with D-U-N-S verification).
- Building signed AAB: 30 minutes if Android Studio is set up, 1–2 hours first time.
- Store listing + compliance forms: 3–6 hours of focused work for a first app.
- Internal Testing: Immediate after upload.
- Closed Testing (personal accounts): 14 days minimum + 12 testers + 1–7 days for production access review.
- Production review: 1–7 days for first releases.
Total elapsed time from "I have a working app" to "live on Play Store":
- Personal account, solo developer: 3–5 weeks (mostly because of Closed Testing requirement).
- Organization account: 2–4 weeks (longer enrollment, shorter testing path).
The Closed Testing requirement is the biggest schedule risk for individual developers. Start recruiting testers immediately when you start building, not when you're ready to ship.
App Store vs Google Play: key process differences
If you've shipped on iOS, the major differences to know:
- Cost: Apple $99/year, Google $25 once.
- Review queue: Apple has a clear "In Review" state. Google's review is more automated and less transparent.
- Mandatory testing window: Apple has no required testing period. Google requires 14 days Closed Testing for personal accounts.
- Description SEO: Apple's description is not indexed; Google Play's is.
- Required visuals: Both require icon and screenshots; Google additionally requires a 1024×500 feature graphic.
- Preview video: Apple hosts in-store; Google links to YouTube.
- Signing keys: Apple manages certificates centrally; Google requires you to manage your upload key (with optional Play App Signing for the production key).
- App Bundle format: Apple uses IPA; Google requires AAB (APK no longer accepted for new apps).
For more on the App Store side, see our App Store Connect setup guide.
Frequently asked questions
Do I really need 12 testers for 14 days?
Yes, if you have a personal developer account created after November 2023. Google requires this before unlocking production access. The 12 testers must be "active" — they opted in and installed the app. Organization accounts skip this requirement entirely.
Is the $25 fee really one-time?
Yes. Unlike Apple's $99/year, Google charges the developer registration fee once. After paying, your account is active indefinitely with no renewal.
Can I publish without doing Closed Testing?
Only with an Organization account. Personal accounts have to complete Closed Testing before production access opens. No exceptions; no workarounds.
What's the difference between AAB and APK?
Android App Bundle (.aab) is Google's preferred publishing format. Google generates device-specific APKs from the bundle at install time, producing smaller downloads for each user. APK is the older single-file format. New apps must use AAB; APK uploads are rejected.
What happens if I lose my signing keystore?
With Play App Signing enabled, Google can reset your upload key — you contact support, prove identity, and they let you generate a new one. With self-managed signing, losing the keystore means you can't ship updates. Choose Play App Signing unless you have a specific reason not to.
Why does the Data Safety form take so long?
Because it has to match every data type collected by every SDK in your app — Firebase Analytics, AdMob, Crashlytics, Singular, attribution SDKs, third-party APIs. Each one collects different data; each one must be declared. For a typical indie app, expect 30–60 minutes of focused work on this section alone.
Do I need separate listings for tablets?
You need at least tablet screenshots if you say your app supports tablets. The listing fields are shared; only the screenshots are per-device-category. Most indie apps skip tablet screenshots and let phone screenshots scale.
Can I submit my app to both stores from the same codebase?
Yes if you used a cross-platform framework (Flutter, React Native). The Android and iOS bundles are different files; the metadata fields are different forms. Plan separate submission workflows even with shared code. Our Flutter vs React Native guide covers the framework decision; either works for shipping to both.
How is Play Store ASO different from App Store ASO?
The big difference: Google Play indexes your full description (4,000 characters) for search ranking; Apple's App Store doesn't. Write your Play Store description with keywords woven through naturally. Apple's description is for conversion only — fundamentally different optimization.
Can I update my app after publishing without going through testing again?
Yes, once you have production access, you can push updates directly to Production through the same flow. Updates are reviewed but typically faster than first submissions. You don't need to repeat the 14-day Closed Testing requirement for updates.
The bottom line
Google Play Console setup is more bureaucratic than the App Store but cheaper and more permissive in some ways — $25 once instead of $99 yearly, no per-feature review queue, full-description SEO. The big 2026 gotchas: Android 16 (API 36) is mandatory, the 14-day Closed Testing requirement for personal accounts is a real schedule risk, the Data Safety form is unforgiving, and losing your signing keystore is a permanent disaster. The developers who get burned in 2026 are the ones who don't plan for Closed Testing, don't back up their keystore, and assume the App Store playbook works here. It doesn't.
Once you're live, the work of converting installs starts. Our screenshots that convert guide covers the patterns that drive installs (the same patterns work for Play Store), and the complete visual assets checklist covers every required asset for both stores in 2026. For the financial side, the Google Play service fee guide covers the commission math — including the new 10% rate on subscriptions arriving in 2026.
Related posts
Make your App Store screenshots free
LaunchShots is a free, in-browser screenshot maker. No signup, no watermark.
Open the app →
Comments (0)